N Scale North American Locomotives |
HomeProduct Maintenance |
Hood-Unit Locomotives |
| Picture (Click to Zoom) | Directions |
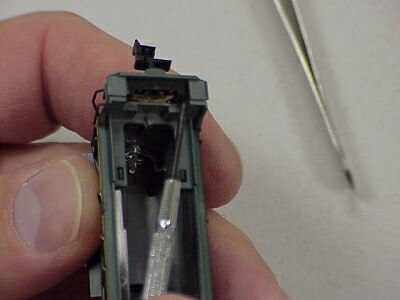 |
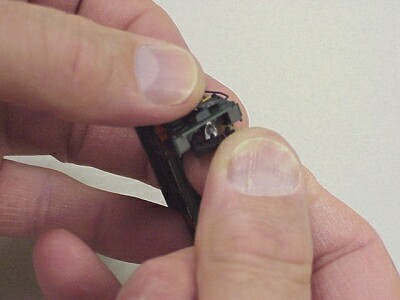
Part 1: Removing the Coupler Clip (Part 1) Place small jeweler's screwdriver blade between clip leg and backside of ladder and gently press inward towards coupler. This will cause the clip leg to release. |
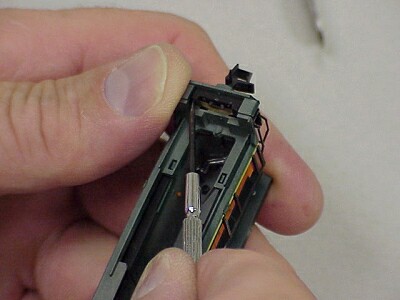 |
Part 2: Removing the Coupler Clip (Part 2) Repeat the process above with the other side of the clip. This should release the clip from the body. Lift it out to release the coupler. |
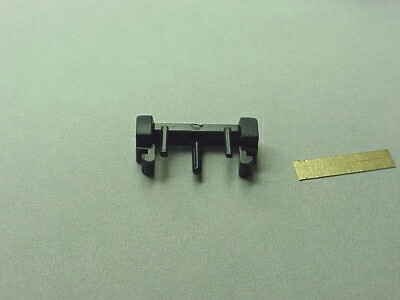 |
Part 3: Placement of the Spring (part 1) Backside of Clip. Hood Unit Coupler Clip and Spring, not installed. |
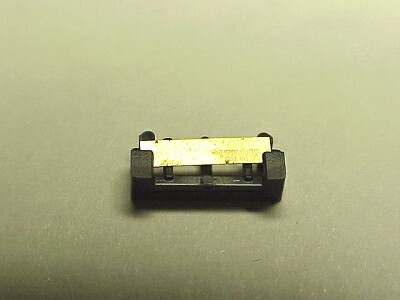 |
Part 4: Placement of the Spring (part 2) Backside of Clip. Clip with spring partially installed. Note that spring is in front of the two back sides. |
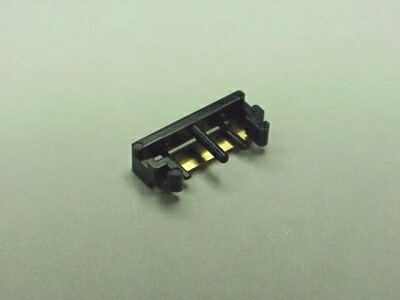 |
Part 5: Placement of the Spring (part 3) Front side of clip with spring installed. Note that all posts are in front of the spring. Coupler will mount on the larger center post. |
 |
Part 6: Placing the Coupler Hold shell vertically, position coupler through pilot hole of shell, insert index finger in shell, and balance coupler clip. Place the clip on index finger with backside down. Use thumb to guide the clip to go into the hole of the coupler shank. Pull coupler out, to help line up the clip mounting. Once in position against pilot, press downward. Clip legs should snap into place. |