N Scale North American Rolling Stock |
HomeProduct Maintenance |
Gunderson MAXI-IV Well Car |
| Picture (Click to Zoom) | Directions |
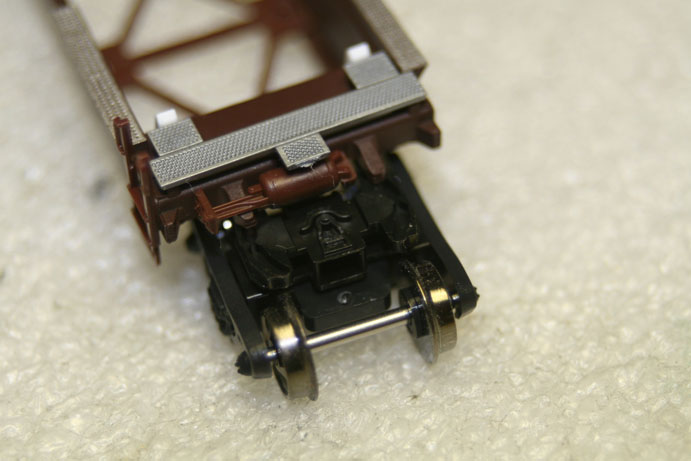 |
Step 1: Preparation The assembly of this 3-car set is easier if done on the straight track portion of your layout. This first picture shows you the articulated truck. The Car A is already attached to it. The top of the deck on the truck shows you the two guide troughs for the float pins, two semicircular grooves on either side. Just below the center of the deck is the box for the guide pin. |
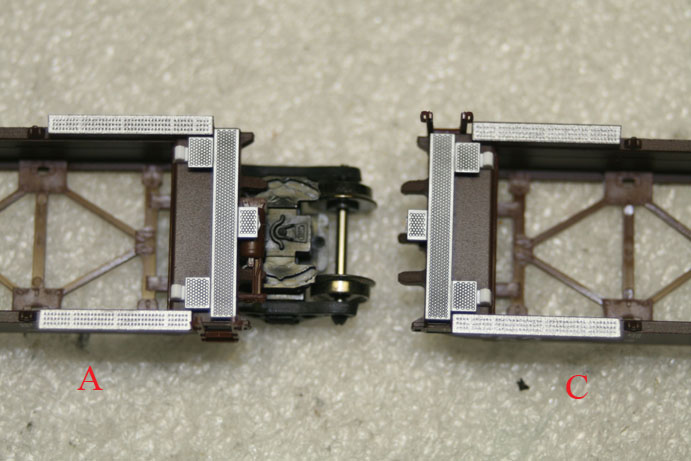 |
Step 2: Layout Start with car with the A designation on the side. This car has both a leading, coupler equipped truck mounted on it as well as one of the car-to-car connection trucks. Set the C Designated car into position with the truckless end next to the truck as shown here. |
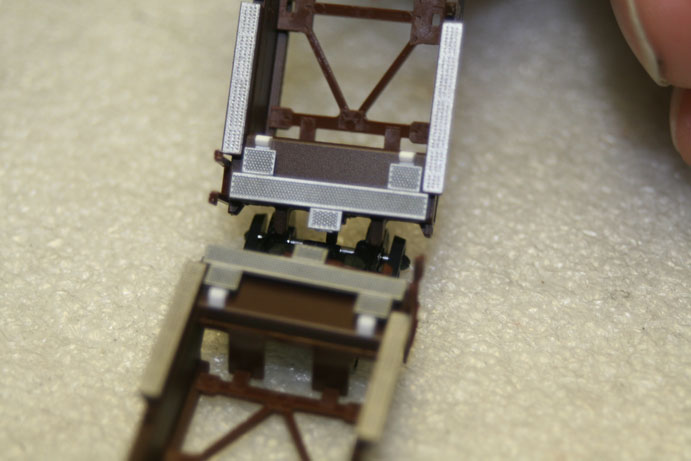 |
Step 3: Connecting Position the C Car at about a 45 Degree angle to the A car. Position the float pins in the guide troughs on each side... the center guide will fit into a box in the center of the support truck. |
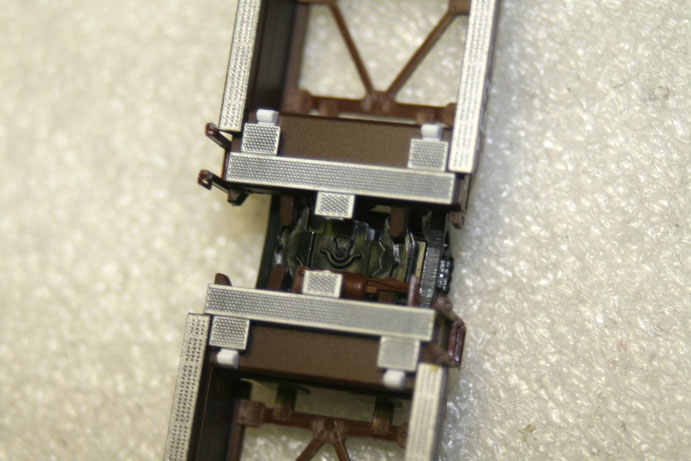 |
Step 4: Finalizing the Process With the float pins properly in place in the guide troughs, gently set the car down, and they should set together. If they seem snagged, wiggle the pins against the truck gently back and forth until they settle and rotate smoothly. The B car is the other car with a coupler on the end; It will fit into the C car in the same manner as the C car fit into the A car. |